💧 Grow Bag Watering Techniques - Keep Your Plants Hydrated and Thriving
Grow bags are one of the most productive container growing systems available to small-space gardeners, but they come with one challenge that catches most new growers off guard. They dry out fast. The same breathable fabric that promotes healthy root development and prevents waterlogging also allows moisture to escape through the sides and base far more quickly than a plastic pot or raised bed would. Getting your watering right is the single most impactful thing you can do for your grow bag harvest.
This guide covers every practical watering method, the tools that make it easier, the soil choices that support it, and the specific habits that separate consistently productive grow bags from disappointing ones.
Why Do Grow Bags Dry Out Faster Than Other Containers?
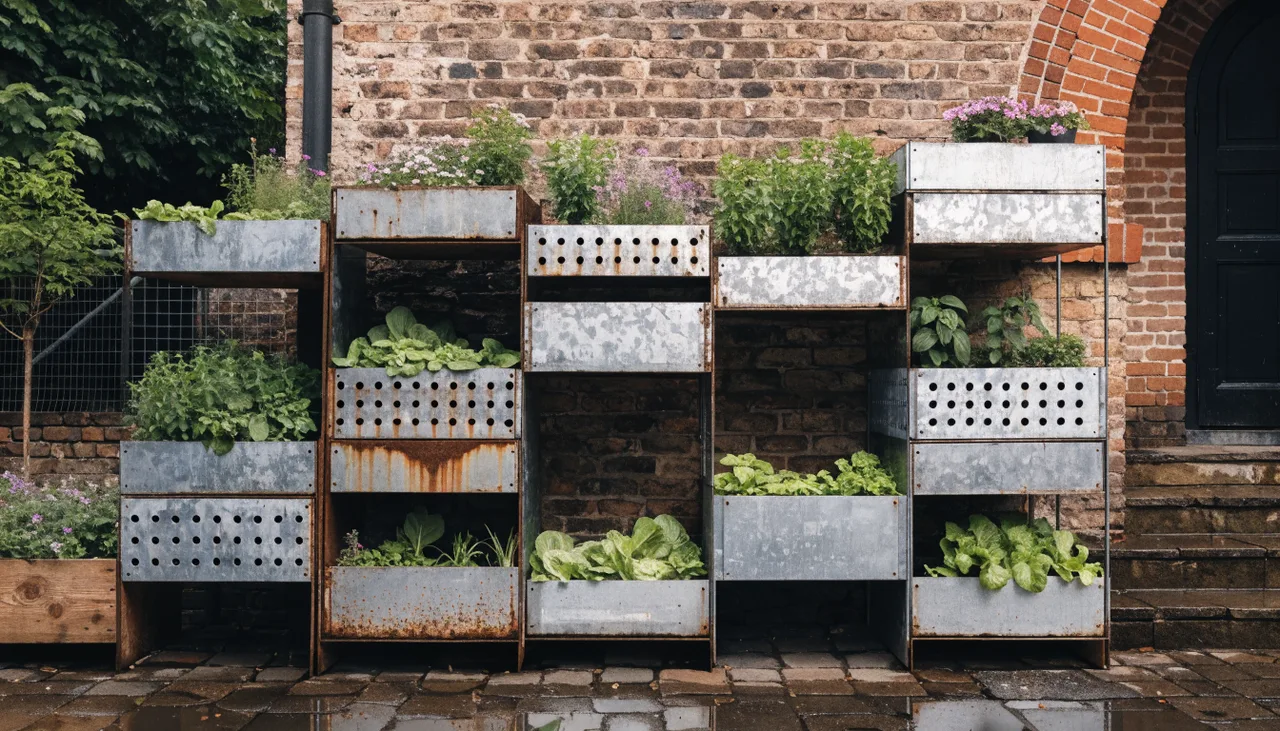
Standard plastic pots and ceramic containers hold moisture because their walls are non-porous. Water can only leave through the drainage holes at the base. Grow bags work differently. The fabric walls allow air to pass through the entire surface of the container, which is excellent for root health because it prevents the circling root growth that happens in solid pots. However, that same permeability means moisture evaporates from every surface simultaneously, not just the base. In warm weather or direct sun, a grow bag can lose a significant portion of its available water within a single day, particularly in smaller sizes of 3 to 5 gallons.
Understanding this is not a reason to avoid grow bags. It is a reason to water them correctly.
How Often Should I Water a Grow Bag?
The honest answer is that watering frequency depends on four variables working together: the crop you are growing, the size of the bag, the current temperature, and how much direct sun the bag receives. As a general starting point, most grow bags need checking daily during warm months. Small bags of 3 to 5 gallons in full sun during summer may need watering every single day. Larger bags of 10 gallons or more in partial shade may go two to three days between waterings. In cooler weather or with a passive watering system in place, the interval extends further.
The finger test is the most reliable guide regardless of the season. Push your finger one inch into the soil at the edge of the bag. If it feels dry, water thoroughly. If it feels moist, check again tomorrow. This takes ten seconds and removes all the guesswork about timing.
What Is the Best Way to Water a Grow Bag?
Deep, thorough watering is always better than light surface watering. When you water shallowly, only the top layer of soil gets wet and roots are encouraged to grow upward toward that moisture rather than downward into the root zone. This makes plants more vulnerable to heat and drought stress. Water until you see it draining freely from the base of the bag, which confirms the entire soil column has been saturated. Then stop. The next watering happens when the top inch dries out again.
Use a watering can with a rose head or a hose with a soft spray setting to avoid disturbing the soil surface or splashing soil onto leaves. Watering at soil level rather than overhead reduces the risk of fungal disease on foliage, particularly for fruiting crops like tomatoes, peppers, and cucumbers.
What Are the Best Watering Systems for Grow Bags?
There are three practical watering approaches for grow bag gardens, each suited to different situations and crop types.
Manual Watering
Manual watering with a can or hose is the most common approach and works well for most small-scale grow bag setups. It gives you daily contact with your plants, which is one of the best ways to catch problems early. The disadvantage is consistency. Missing a day in hot weather can stress moisture-sensitive crops like lettuce, basil, and spinach enough to trigger bolting or leaf wilt. If you travel frequently or have a large number of bags to manage, manual watering alone becomes difficult to sustain.
Drip Irrigation
A drip irrigation system delivers water slowly and directly to the base of each plant through a network of tubing and drip emitters. Connected to a timer, it waters your bags automatically at set intervals regardless of whether you are present. This is the most reliable approach for growers with many bags, hot climates, or crops that need consistent moisture like tomatoes and cucumbers. The setup requires an initial investment of time and materials, but once in place it significantly reduces the daily labour of managing a grow bag garden.
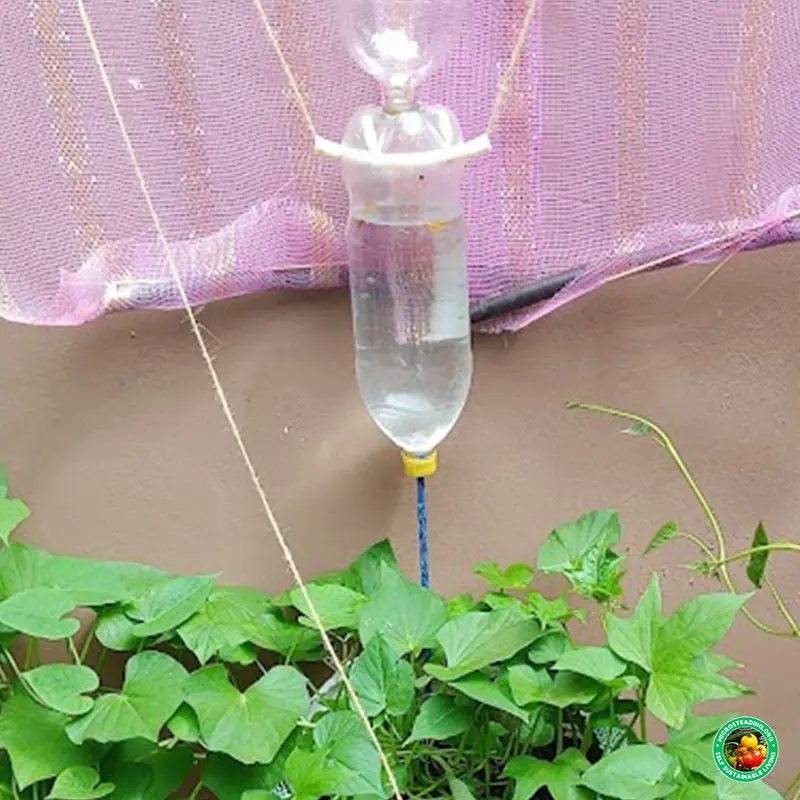
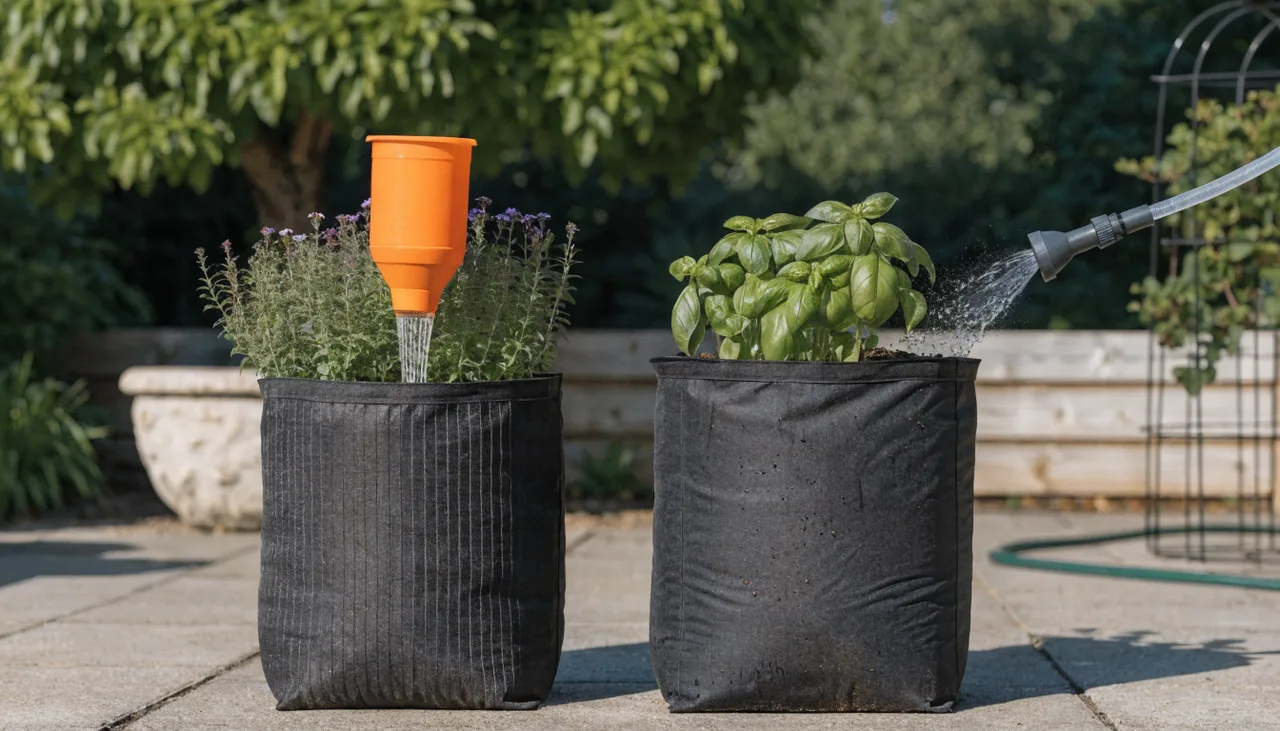
Self-Watering Inserts and Wicking Systems
A self-watering insert placed inside the grow bag before filling with soil creates a small internal reservoir that wicks moisture upward into the root zone as the soil dries. This passive system works without electricity, timers, or ongoing intervention. It is particularly effective for leafy greens, herbs, and medium-sized fruiting plants in bags of 5 to 10 gallons. For larger bags, pairing an insert with a drip tray placed beneath the bag allows it to reabsorb drained water from below, extending the time between manual waterings considerably.
For a full walkthrough on building your own passive watering system, see the Wicking Systems Guide.
Does Soil Mix Affect How Well a Grow Bag Holds Moisture?
Yes, significantly. A poor quality or poorly balanced soil mix is one of the most common reasons grow bags fail. Pure potting compost compacts over time, restricts drainage, and creates uneven moisture distribution. A mix that is too sandy or perlite-heavy drains before plants can absorb what they need. The right balance for most grow bag crops is 40 percent compost, 40 percent coconut coir, and 20 percent perlite. Compost provides nutrition and moisture retention. Coconut coir holds water evenly without compacting. Perlite keeps the mix aerated so roots can access both water and oxygen.
For moisture-sensitive crops like lettuce and herbs, increase the coir slightly to 45 percent and reduce perlite to 15 percent. For drought-tolerant herbs like rosemary and thyme, reverse this and increase the perlite to 30 percent to prevent the waterlogging these plants are highly sensitive to.
Use the Soil Mix Calculator to get a customised blend recommendation based on your specific crop and bag size.
Does Mulching Help Grow Bags Retain Moisture?
Mulching the surface of a grow bag is one of the most effective and underused techniques in container gardening. A layer of straw, shredded leaves, coconut husk, or even a thin layer of compost placed over the soil surface acts as a barrier between the soil and the air, slowing evaporation significantly. In practice, mulched grow bags can go noticeably longer between waterings compared to unmulched ones in identical conditions. Apply mulch to a depth of one to two inches, keeping it away from the base of the plant stem to prevent rot.
Should I Put a Tray Under My Grow Bag?
A tray or saucer placed beneath a grow bag serves two useful purposes. It catches the water that drains through the base during watering so that none is wasted, and it allows the bag to reabsorb that water slowly from below as the soil dries. This is particularly beneficial for thirsty crops like tomatoes, cucumbers, and leafy greens in hot weather. The one crop category where this approach needs care is drought-tolerant herbs. Rosemary, thyme, and oregano prefer to dry out between waterings. A tray that keeps the base of the bag constantly wet can lead to root rot in these plants, so use trays selectively based on what you are growing.
How Do I Water Grow Bags in Hot or Tropical Climates?
In consistently warm climates, particularly in tropical and Caribbean growing environments, the combination of heat, humidity, and direct sun creates conditions where grow bags can dry out within hours rather than days. In these conditions, the most practical approach is to water early in the morning before temperatures peak, use the largest bag size practical for the crop being grown, mulch every bag regardless of the crop, and use self-watering inserts or drip systems as standard rather than optional. Positioning bags where they receive morning sun but are shaded during the hottest part of the afternoon reduces moisture loss substantially without sacrificing growing conditions for most crops.
Grow Bag Watering Checklist
- ✅ Water deeply every time until it drains freely from the base
- ✅ Check soil moisture daily with the finger test, not by schedule alone
- ✅ Use a self-watering insert or drip tray for moisture-sensitive crops
- ✅ Mulch every bag to slow surface evaporation
- ✅ Match your soil mix to your crop's moisture requirements
- ✅ Water at soil level rather than overhead to reduce foliar disease
- ✅ Adjust frequency by season: daily in summer, every 2 to 3 days in cooler months
- ✅ Use drought-tolerant herbs without trays to prevent root rot
📋 A Note on Watering from Grow Bag Experience
The growers who consistently get the best results from grow bags are not the ones with the most expensive irrigation systems. They are the ones who check their bags daily, respond to what they see, and make small adjustments early rather than waiting until a plant is visibly stressed. Wilt, yellowing, and bolting are all late signals. By the time a plant shows them, it has already been under stress for longer than it should have been. Building a daily habit of touching the soil and observing your plants costs nothing and teaches you more about your specific growing environment than any general guide can.
Frequently Asked Questions
During warm months, most grow bags need checking daily. Small bags in full sun may need watering every day. Larger bags in partial shade can often go two to three days between waterings. Always use the finger test rather than a fixed schedule. Push your finger one inch into the soil and water only when it feels dry.
Grow bag fabric is porous, which means moisture evaporates from every surface of the container simultaneously rather than only from the base. This is beneficial for root health but requires more attentive watering. Mulching the surface, using a drip tray underneath, and choosing a soil mix with adequate coconut coir all help slow the drying rate.
Yes, and for most crops it is worth doing. Self-watering inserts like the BottleCore system wick moisture upward from an internal reservoir as the soil dries. For larger bags, pairing an insert with a drip tray beneath the bag extends hydration further between manual waterings.
Yes. Drainage from the base confirms that the entire soil column has been watered thoroughly rather than just the surface. If water drains immediately without the soil absorbing any, your mix may be too dry and compacted. Soaking the bag slowly from below using a tray can help rehydrate severely dry soil before returning to normal top watering.
Yes. Fruiting crops like tomatoes, cucumbers, and peppers benefit from deep, less frequent watering that encourages roots to grow downward. Leafy greens like lettuce and spinach prefer consistent surface moisture and should not be allowed to dry out. Drought-tolerant herbs like rosemary, thyme, and oregano should be allowed to dry between waterings and should not sit in trays.
It makes a significant difference. A one to two inch layer of straw, coconut husk, or shredded leaves placed over the soil surface creates a barrier that slows evaporation considerably. Mulched bags in identical conditions to unmulched ones consistently hold moisture longer, which reduces watering frequency and protects roots from temperature spikes.