Composting Directly in Grow Bags - Fertilize as You Grow
What if your grow bag could feed your plants while they grow — no turning, hauling, or extra bins? That’s the beauty of composting directly in grow bags. It’s a smart, low-effort system that mimics nature: roots grow on top, decomposition happens underneath.
This method delivers whether you’re short on space, trying to reduce kitchen waste, or just want a hands-off way to build healthier soil.
What Is In-Bag Composting?
In-bag composting means layering compostable materials directly into your grow bag before planting or as your plants grow. The breakdown process happens in place, right under your crops.
You can think of it like a simplified, horizontal version of trench composting. The roots feed as decomposition happens below.
Benefits of Composting in Grow Bags
- Less work — No turning piles, no hauling compost across the yard
- Space-saving — No compost bin required
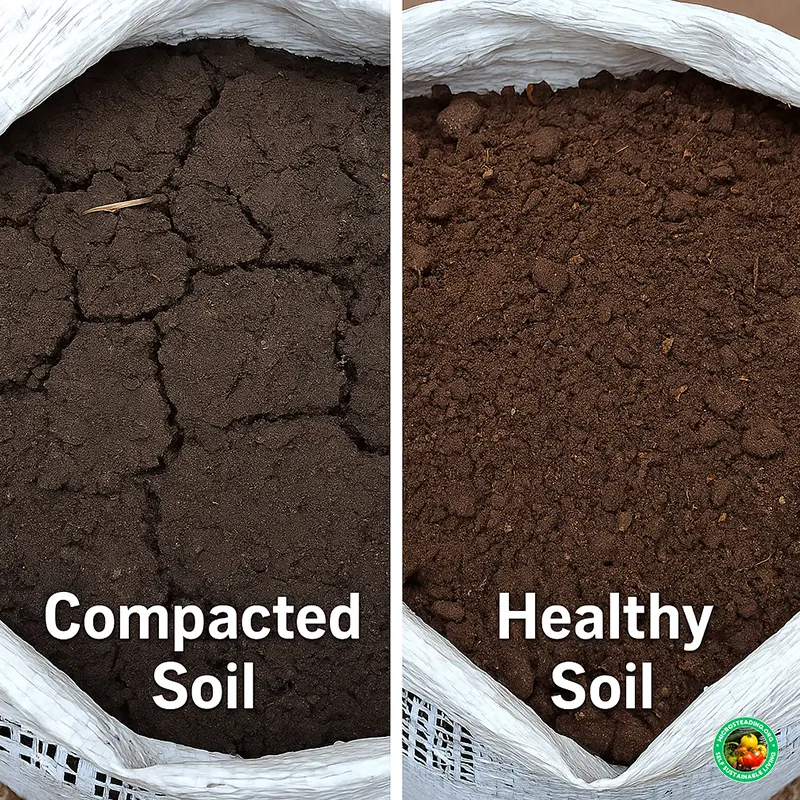
- Soil health boost — Constant microbe activity, improved structure, better moisture retention
- Self-fertilizing — Roots have direct access to nutrients as materials break down
Plus, it’s a great way to recycle kitchen scraps and old plant matter without needing a big setup.
How to Set It Up (Two Methods)
1. Pre-Fill Composting (Before Planting)
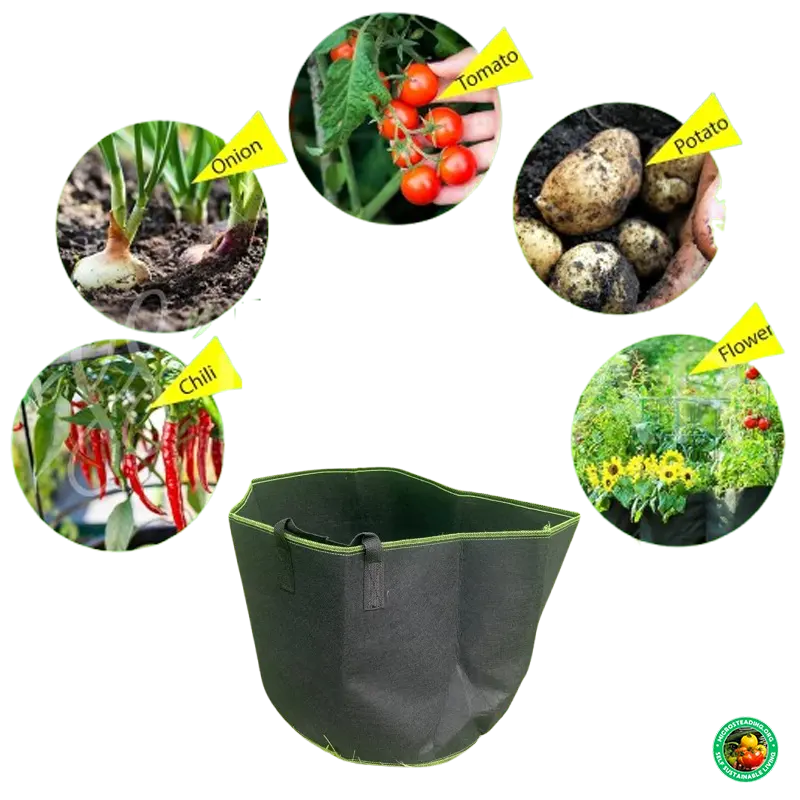
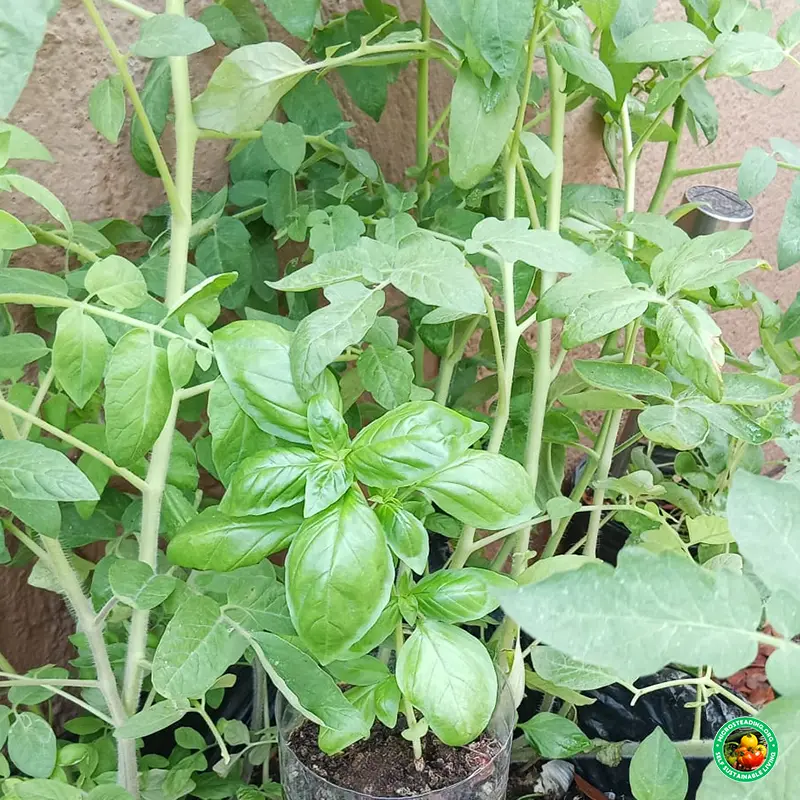
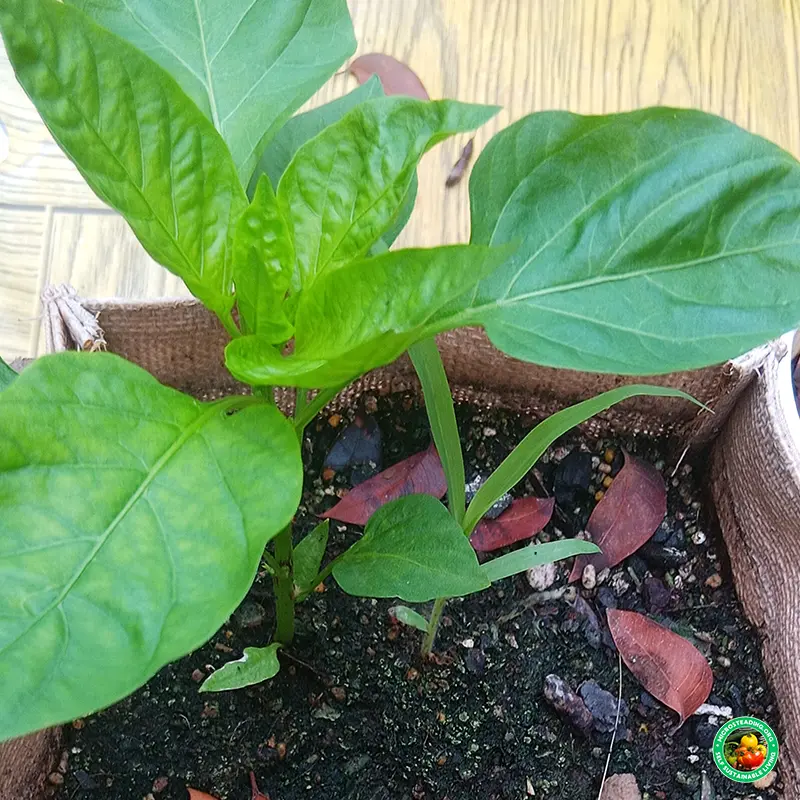
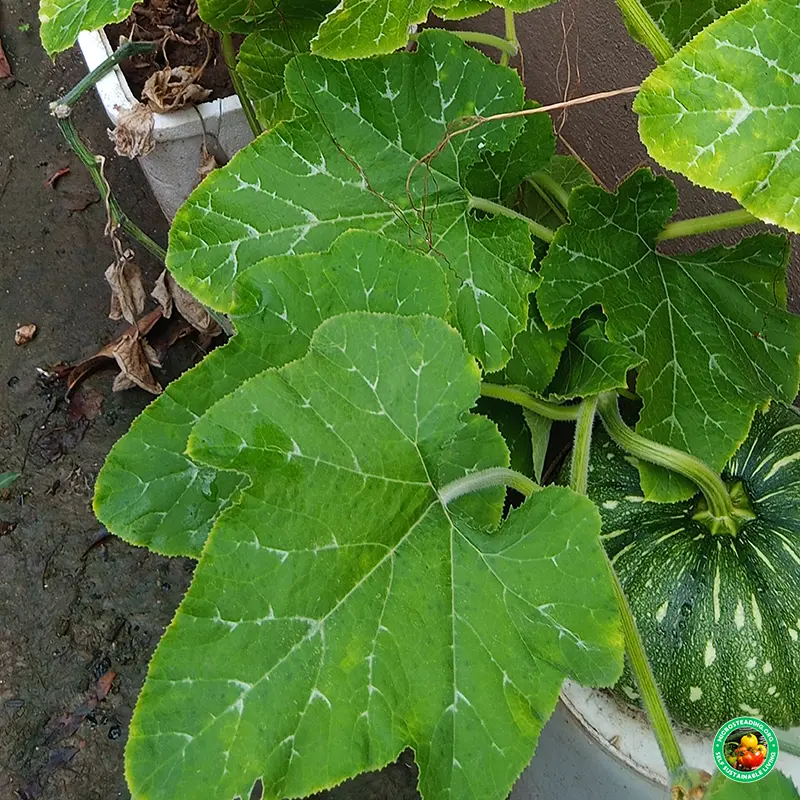
This works best for seasonal crops like sweet potatoes, tomatoes, or squash.
Steps:
- Fill the bottom third of your grow bag with layers of compostables: chopped veggie scraps, shredded leaves, dead plant trimmings, etc.
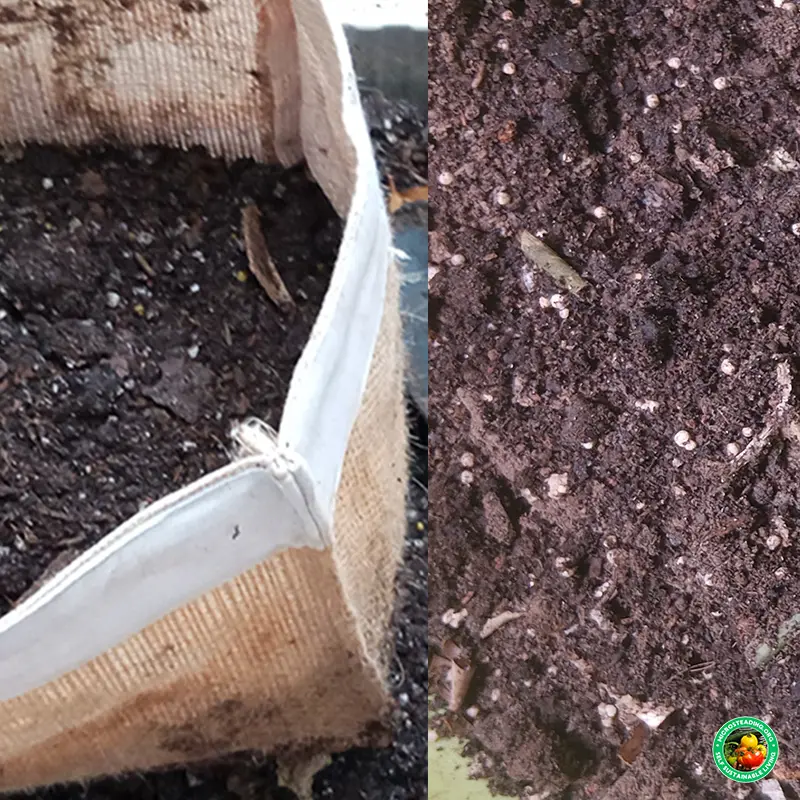
- Add a handful of garden soil or finished compost to introduce microbes.
- Top with your regular grow bag soil mix (see our guide to Best Soil Mixes for Grow Bags).
- Water well and let it sit 1–2 weeks to settle, or plant directly if the materials are already semi-broken down.
2. Ongoing Composting (While Plants Grow)
This method lets you feed the bag slowly, especially in larger 10–20 gallon setups.
Steps:
- Dig small holes between plants or around the perimeter.
- Add chopped kitchen waste (no meat or dairy), cover with a handful of soil or mulch.
- Rotate where you add scraps to avoid hotspots.
- Water normally — the decomposition benefits from moisture.
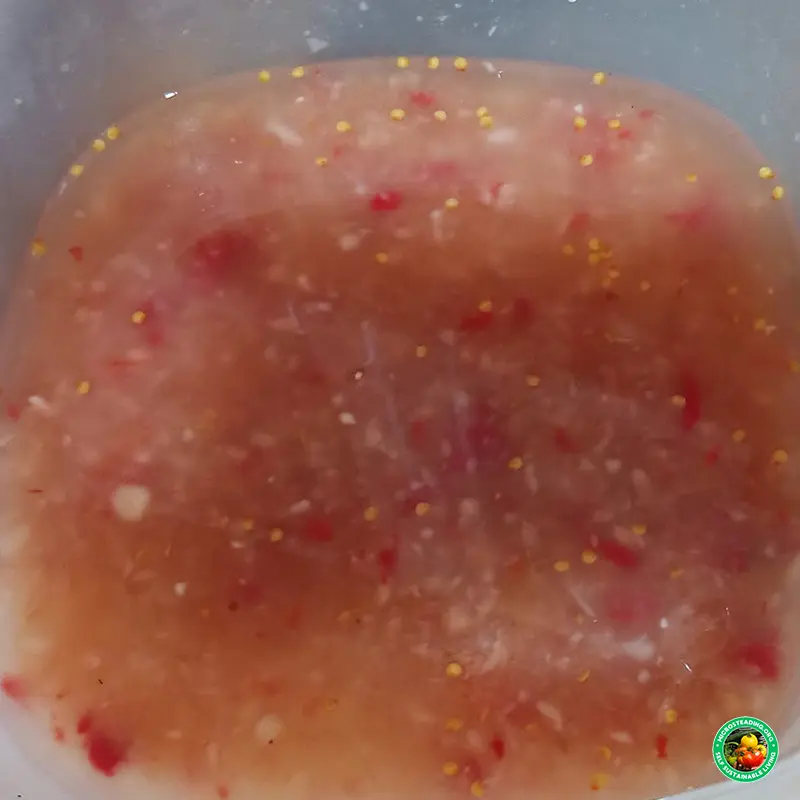
What to Compost in Your Grow Bags
Great materials:
- Coffee grounds and filters
- Banana peels
- Crushed eggshells
- Chopped veggie scraps
- Garden trimmings
- Shredded leaves or newspaper
Avoid:
- Citrus (too acidic for confined soil)
- Grease, meat, dairy
- Large woody stems (break down too slowly)
- Anything moldy or already smelly
Pro tip: Chop everything small for faster breakdown. If you do this often, a knife or an old blender can speed things up.
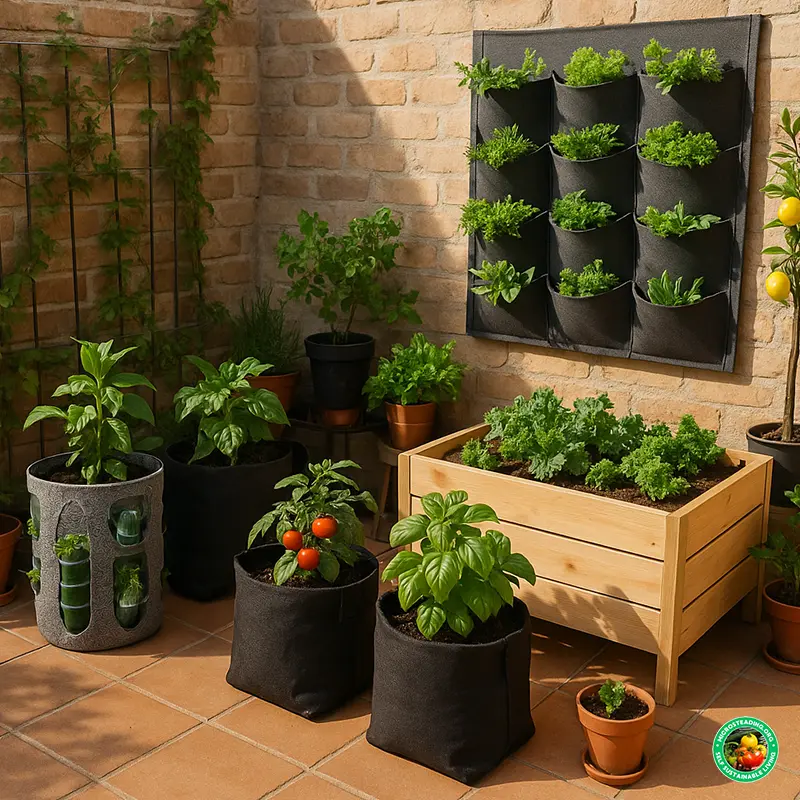
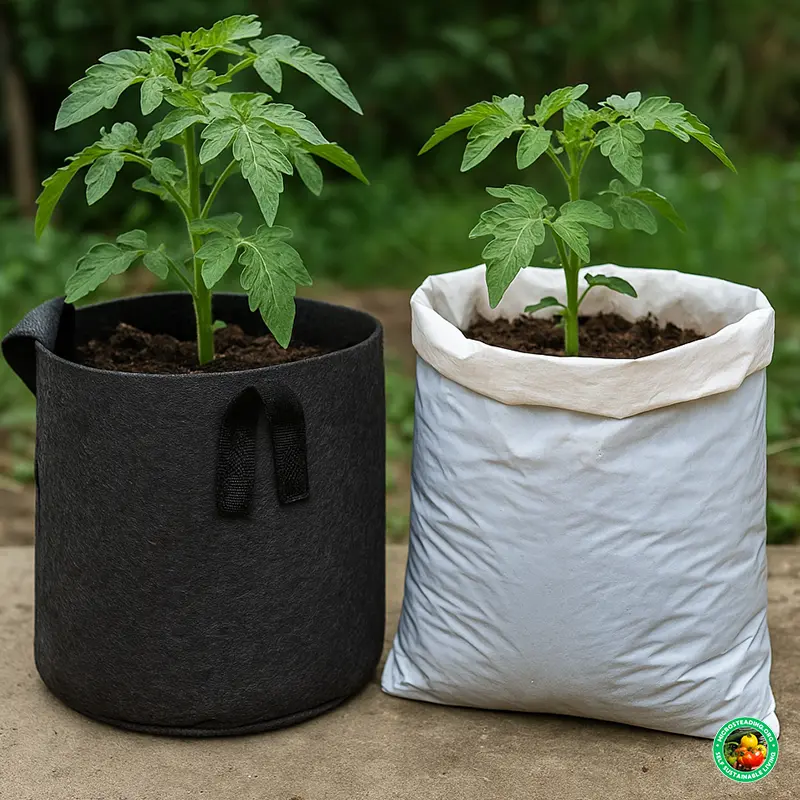
Ideal Bag Sizes for In-Bag Composting
The larger the bag, the better. Look for:
- 10-gallon minimum for ongoing composting while growing
- 15–20 gallons is ideal for long-term crops or multiple plants
Smaller bags (3–5 gallons) don’t offer enough space for good decomposition without crowding the roots.
Check out Choosing the Right Size Grow Bag for complete guidance on container sizing.
Does It Smell?
Nope — not if you do it right. Always:
- Cover scraps with soil or mulch
- Avoid wet, anaerobic layers
- Water moderately, but don’t saturate
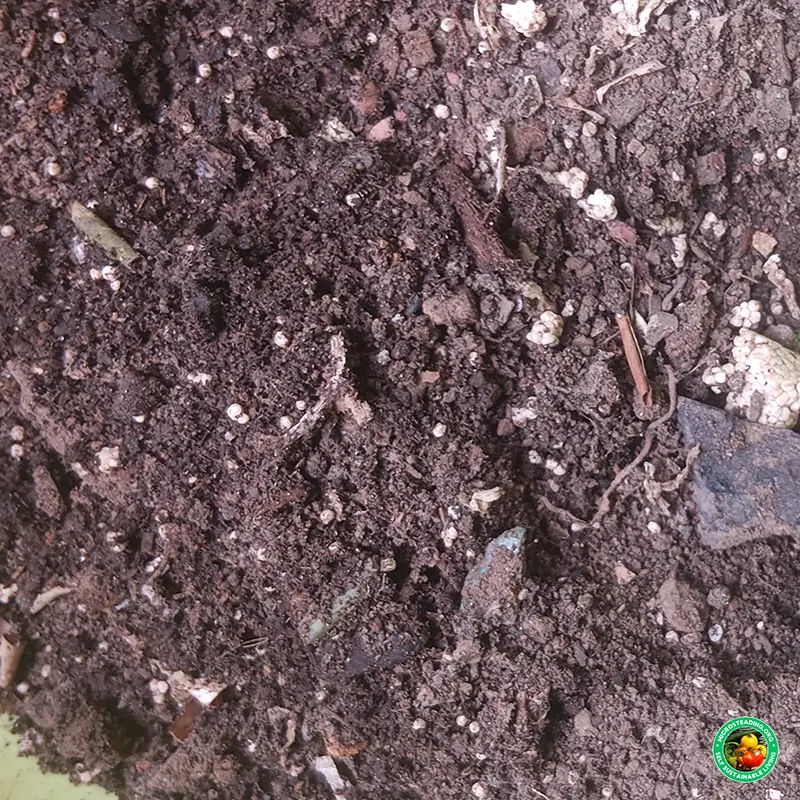
You’ll know it’s working when the soil stays earthy-smelling, and the scraps “disappear” over time.
If smell does become an issue, add dry browns like shredded paper or dried leaves to balance moisture.
Will It Attract Pests?
It can — but it doesn’t have to. To stay pest-free:
- Avoid exposed food scraps
- Don’t overfill
- Avoid meat, dairy, oils, and sugary fruit peels
- If needed, wrap the top of the bag with fine mesh or row cover
For more DIY tips, you can also check out our article on Dealing with Pests in Small Grow Spaces.
Composting + Self-Watering? It Works.
In-bag composting is a perfect fit if you’re using a self-watering grow bag setup (like we cover in How to Set Up a Self-Watering Grow Bag System).
The moist lower zone supports healthy decomposition, and your reservoir keeps everything balanced — no drying out or overheating like in a plastic compost bin.
In-bag composting is one of those micro-stead hacks that saves time and space and builds better soil over time. It’s not about perfection—it’s about feeding your soil as you go.
If you’re planting something long-term or want to reduce food waste, try building your next grow bag from the bottom up—compost and all.
Bonus: Pre-Season Bag Building
In cool-season prep, you can build grow bags in advance by layering:
- Dry browns and greens
- Water each layer as you go
- Let the bag “cook” for 3–4 weeks before planting
This technique works especially well for deep-rooted crops and crops grown in warm climates like USDA Zone 13, where year-round decomposition is fast and effective.
Your plants (and your future harvests) will thank you.

About the Author:
Carl Riedel is the founder of Microsteading.org and a passionate small-space grower based in Curaçao. He specializes in grow bag gardening, sustainable methods, and teaching others how to thrive in limited spaces.