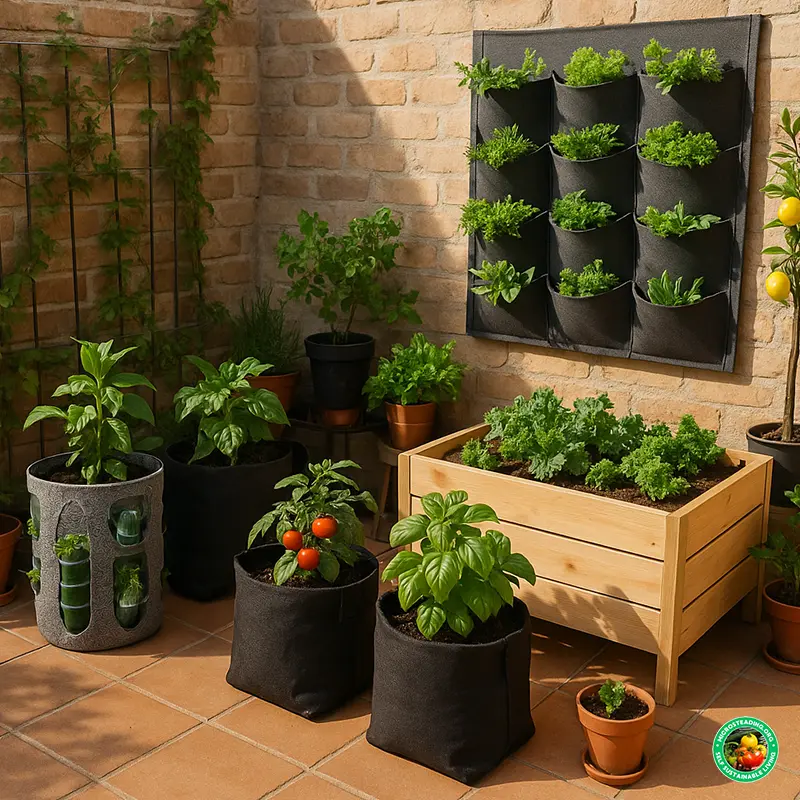
DIY Grow Bag Hacks from Recycled Materials
Grow bags are already a great budget-friendly way to garden — but if you're the kind of microsteader who likes to get hands-on, there's even more value waiting in your recycling bin. With a few clever tweaks, you can upgrade drainage, airflow, irrigation, and portability — all while saving money and reducing waste.
Here are some of the best DIY grow bag hacks you can try today using materials you probably already have.
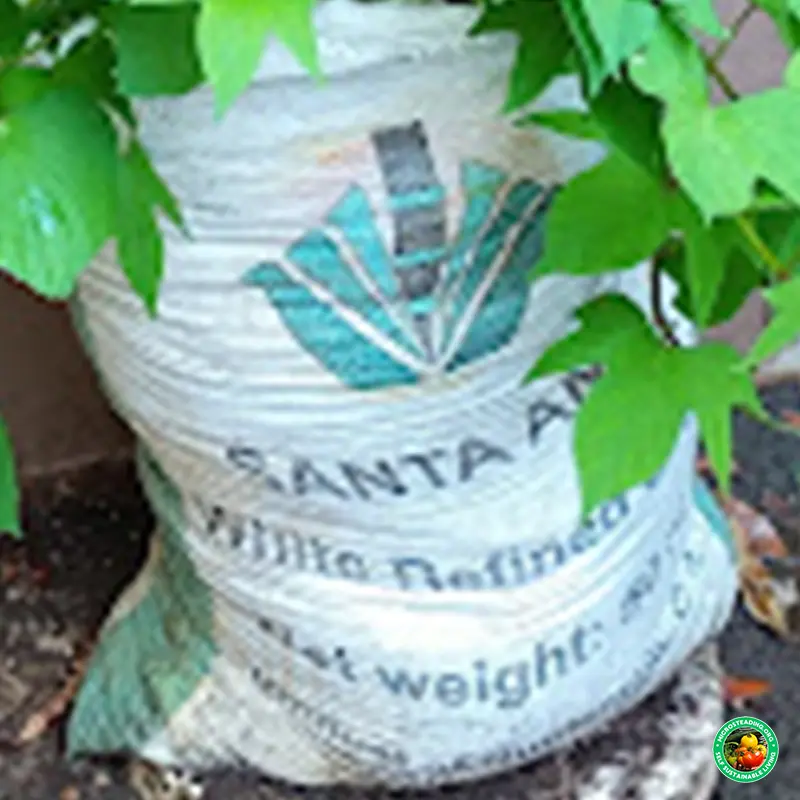
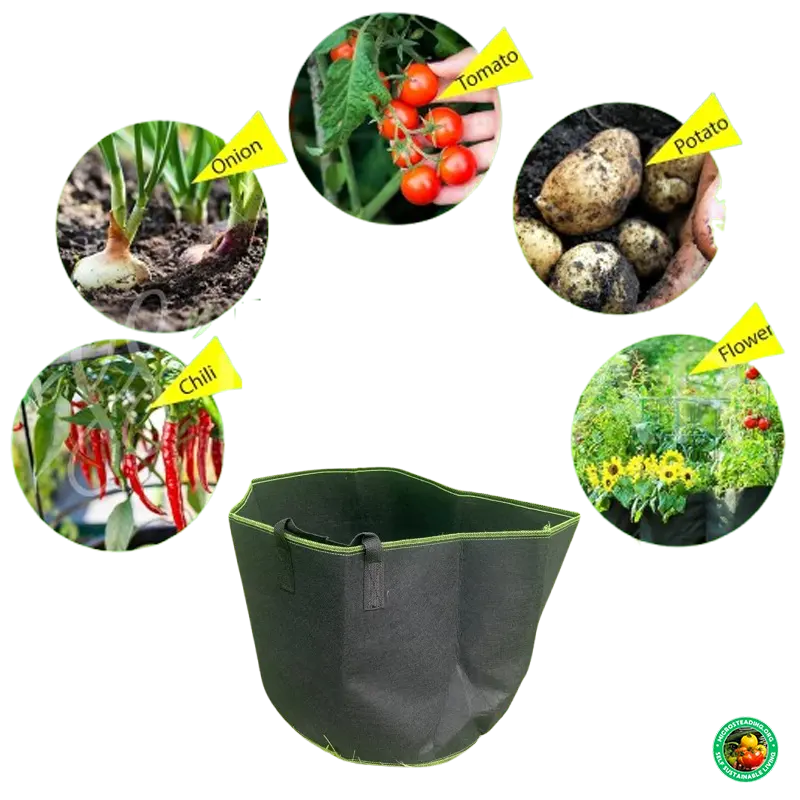
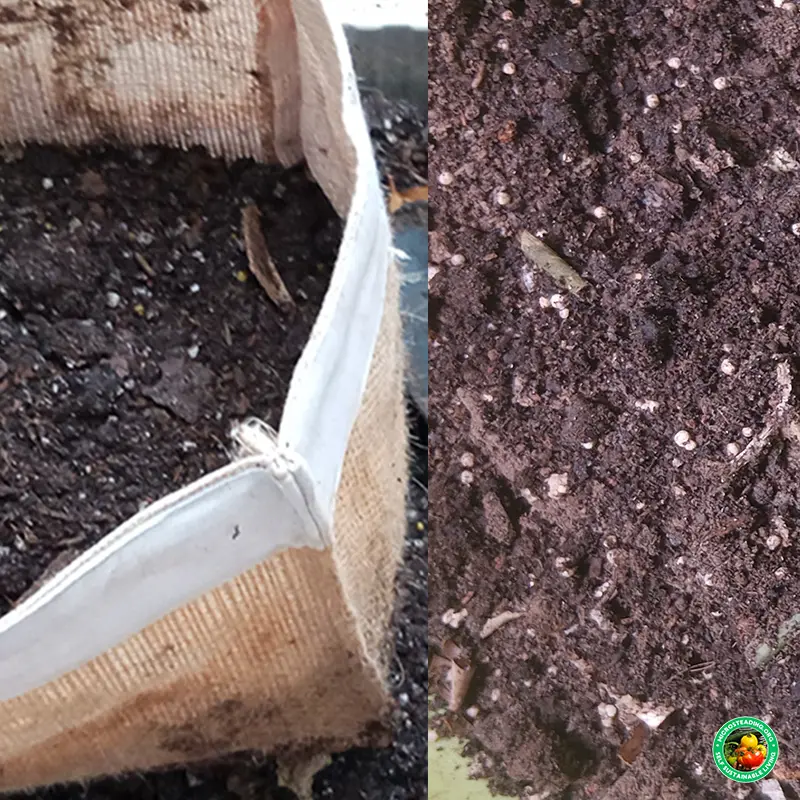
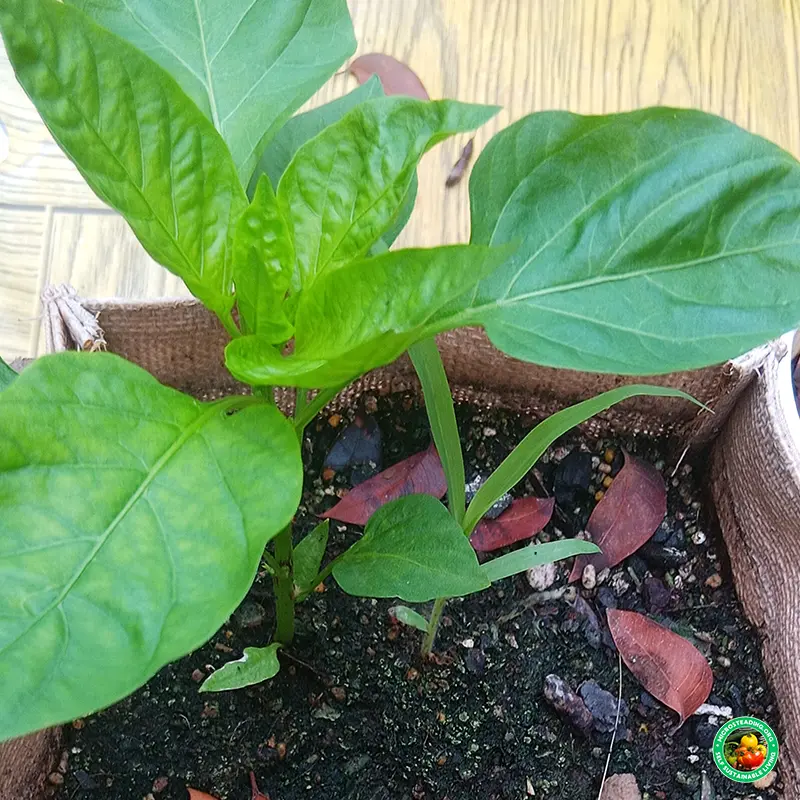
I often repurpose heavy-duty bags that once held food items, such as sugar sacks or large dog food bags. Since these were originally certified safe for food-grade contents, they’re a practical and reliable option for growing edible crops. It’s a smart way to reduce waste and avoid buying new grow bags.
🧃 Use Juice Bottles to Create a Passive Watering Core
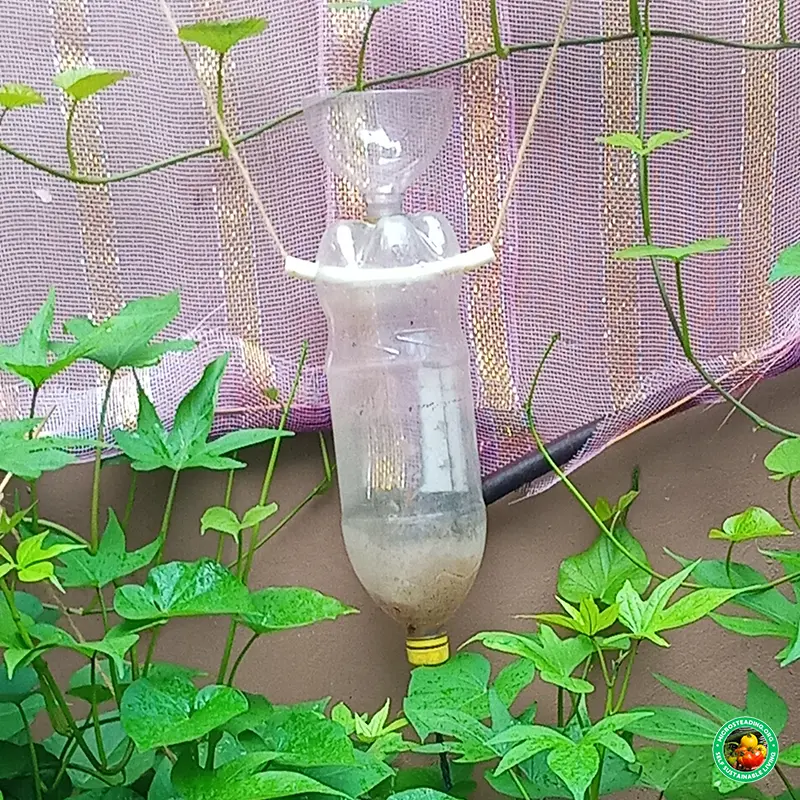
Ever find your grow bags drying out too fast in the midday heat? A simple recycled bottle can help.
🛠️ What you need:
- 1 empty plastic juice or soda bottle (1–2 liter size)
- A knife or scissors
- A pin or small nail
💧 How to do it:
- Poke several small holes in the bottom and sides of the bottle
- Bury the bottle vertically in the center of your grow bag, cap removed, with the top just above soil level
- Fill it with water every few days — it slowly seeps into the surrounding soil
This creates a DIY version of a deep watering system, especially helpful in hot climates like USDA Zone 13.
🔗 For more hydration hacks, check out our guide to How to Set Up a Self-Watering Grow Bag System.
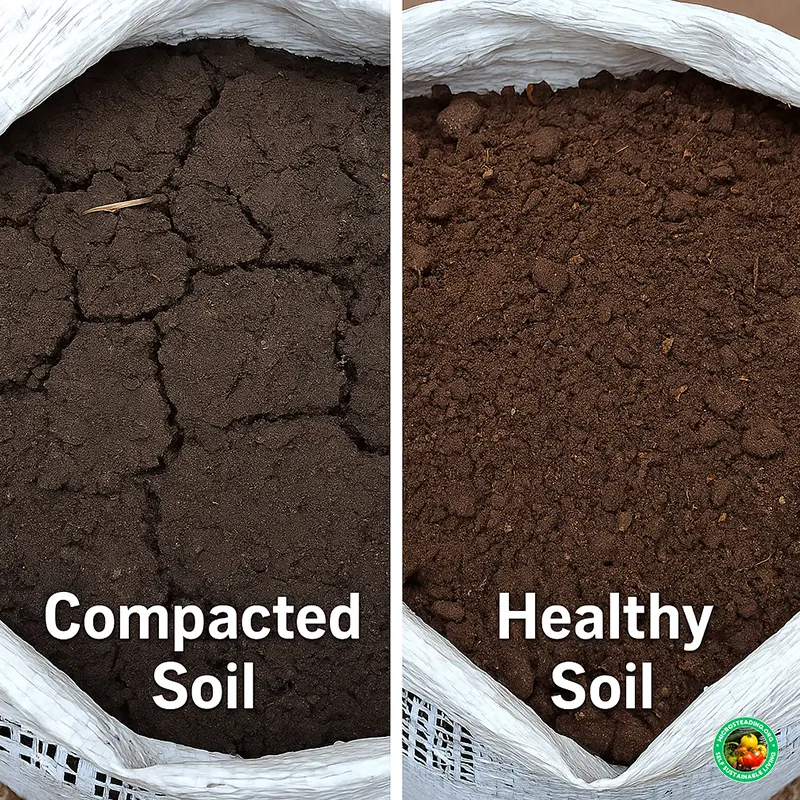
♻️ Add Recycled Cardboard for Moisture Control
If your grow bags drain too quickly, shredded cardboard or brown paper can help retain moisture without compacting the soil.
🌱 How it works:
When filling your bag, layer strips of soaked cardboard about halfway down. The cardboard acts like a sponge, slowing down drainage and breaking down organic matter over time.
Use it in combination with compost layering to double the benefit, as we show in our post about Composting Directly in Grow Bags.
🐛 Coffee Filters to Block Fungus Gnats
Fungus gnats love the surface of moist soil. A thin layer of compostable paper can block them out.
☕ What to do:
- Place 2–3 used coffee filters flat on top of your soil
- Water gently through them
- Replace weekly
They act as a mini mulch layer, letting moisture in while keeping flying pests out. You can also topdress with cinnamon to prevent larvae — a trick covered in Dealing with Pests in Small Grow Spaces.
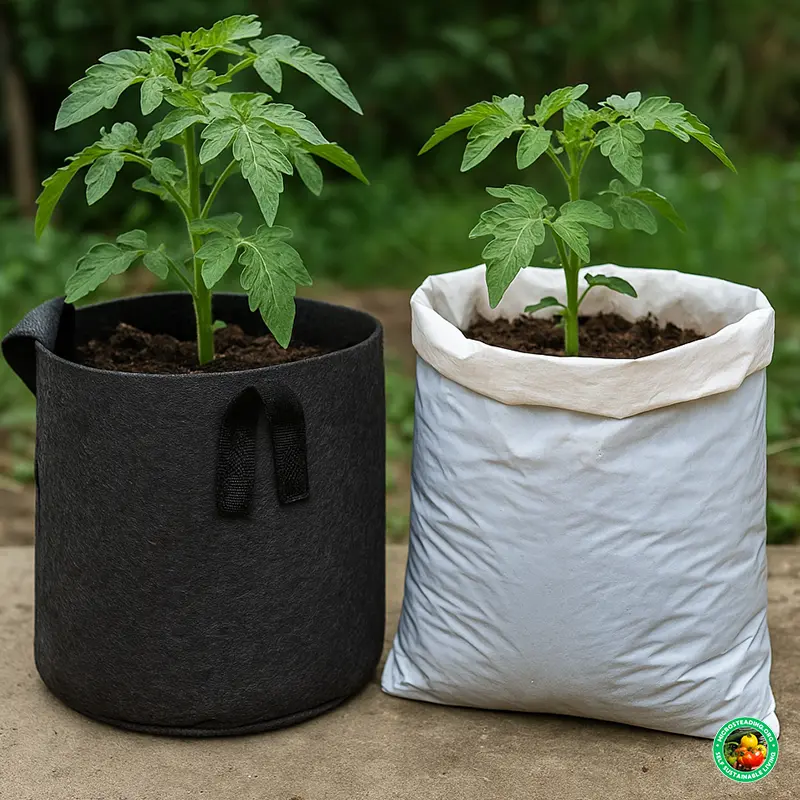
🔄 Flip Old T-Shirts into Bag Liners
Got stretched-out T-shirts destined for the rag pile? Turn them into breathable liners to help retain soil in lightweight or shallow grow bags.
🧵 How:
- Cut across the chest to make a wide "tube."
- Line the inside of a cloth or mesh grow bag
- Add your soil mix and plant like normal
The fabric slows leaching during heavy rains and can even help regulate root temperature.
🪴 DIY Handles for Better Portability
Cheap grow bags often lack sturdy handles. But you can make your own carry handles with zip ties, scrap webbing, or even strong cloth strips.
🚚 Why it matters:
When you need to move your bags to chase the sun (see Grow Bag Placement for Sunlight), a good grip can save your back — and your plants.
Use a hole punch to create slots near the top, insert strong ties or stitched cloth loops, and reinforce with duct tape if needed.
🛟 Reuse Styrofoam for Lightness & Drainage
Large grow bags can get heavy. A layer of broken-up Styrofoam at the bottom can reduce weight and help drainage.
⚠️ Caution:
Avoid using Styrofoam in food grow bags. Over time, it may release harmful chemicals, doesn’t break down, and can contribute to microplastic buildup. Stick to ornamentals or isolate it using landscape fabric if needed.
⚠️ Why Avoid Styrofoam in Edible Grow Bags?
Styrofoam, or expanded polystyrene (EPS), is lightweight and does help with drainage and reducing bag weight, but it comes with real concerns, especially when you're growing food:
- Chemical leaching: Over time and under heat, Styrofoam can break down and leach styrene compounds, which are suspected carcinogens and not something you want near edible roots.
- It doesn’t decompose: Unlike cardboard or compostable organics, Styrofoam never breaks down in soil, making it a poor fit for long-term sustainable setups.
- Potential for microplastic pollution: Tiny particles can break off during watering, root disturbance, or repotting, eventually ending up in soil or water sources.
✅ When Styrofoam Is Okay
It’s fine to use sealed away from roots, especially:
- At the bottom of non-edible bags (flowers, ornamentals)
- Inside a landscape fabric pouch to keep it physically isolated
- As filler under large planters that don’t grow food (just to displace soil)
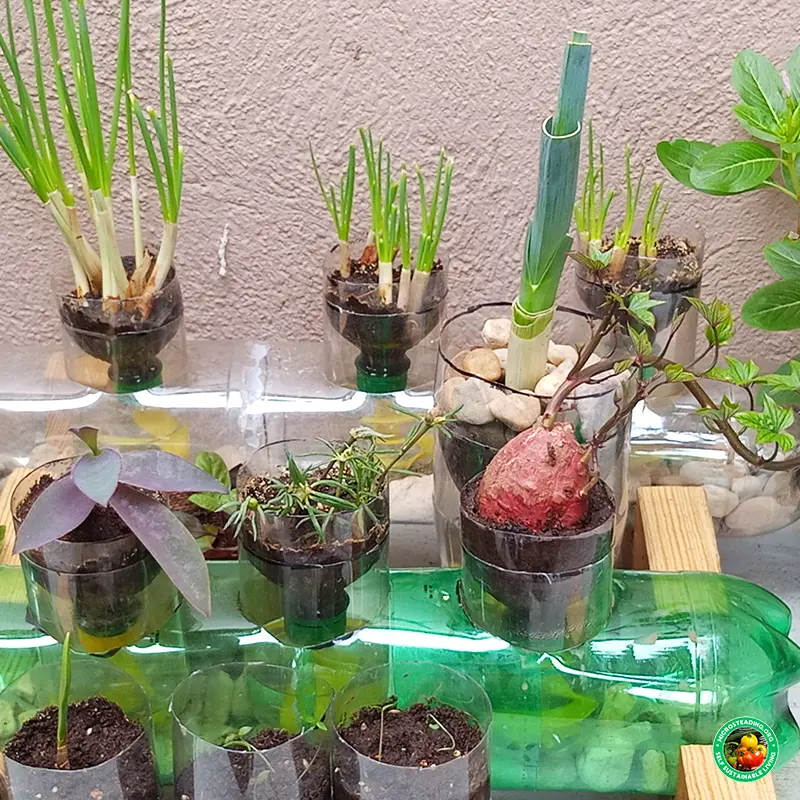
🧂 Egg Cartons as Seed Starters in Bags
Cardboard egg cartons are the perfect size to get a head start on transplants — even directly inside a large grow bag.
🥚 How:
- Fill each cup with soil and seeds
- Water and keep shaded until sprouts appear
- Tear off individual cups and plant them whole in the bag
The carton breaks down naturally, feeding the soil and reducing transplant shock.
🔥 Bonus: Heat Shield Hack for Bags in the Sun
If your black bags are overheating, place a layer of white-painted cardboard or aluminum foil between them to reflect sunlight and reduce soil temperature.
🥵 This is especially useful in hot zones like USDA Zone 12–13, where root temps can spike dangerously high in mid-summer.
Microsteaders know how to get creative — and your grow bags can be smarter, cooler, and more productive with just a few tweaks from everyday waste.
Start with one or two hacks. As you grow, you’ll find which ones work best in your space. Whether you're repurposing shirts, soda bottles, or egg cartons, every recycled material becomes part of a living system.
And that’s the true spirit of DIY micro gardening: grow what you have, where you are, with what’s already around you.

About the Author:
Carl Riedel is the founder of Microsteading.org and a passionate small-space grower based in Curaçao. He specializes in grow bag gardening, sustainable methods, and teaching others how to thrive in limited spaces.