Preventing Soil Compaction in Containers
Soil compaction is one of the most overlooked issues in grow bag gardening. Everything seems fine early on, but by mid-season, your plants slow down, leaves yellow, and water sits on top of the soil. What’s going on? The answer is often right under your feet — literally.
Why Soil Compaction Matters in Grow Bags
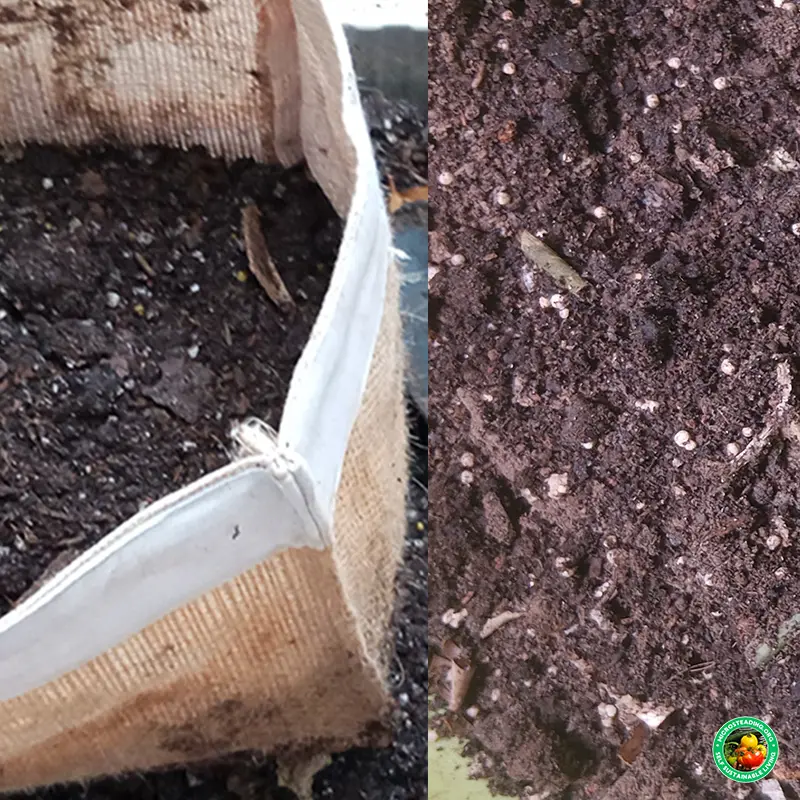
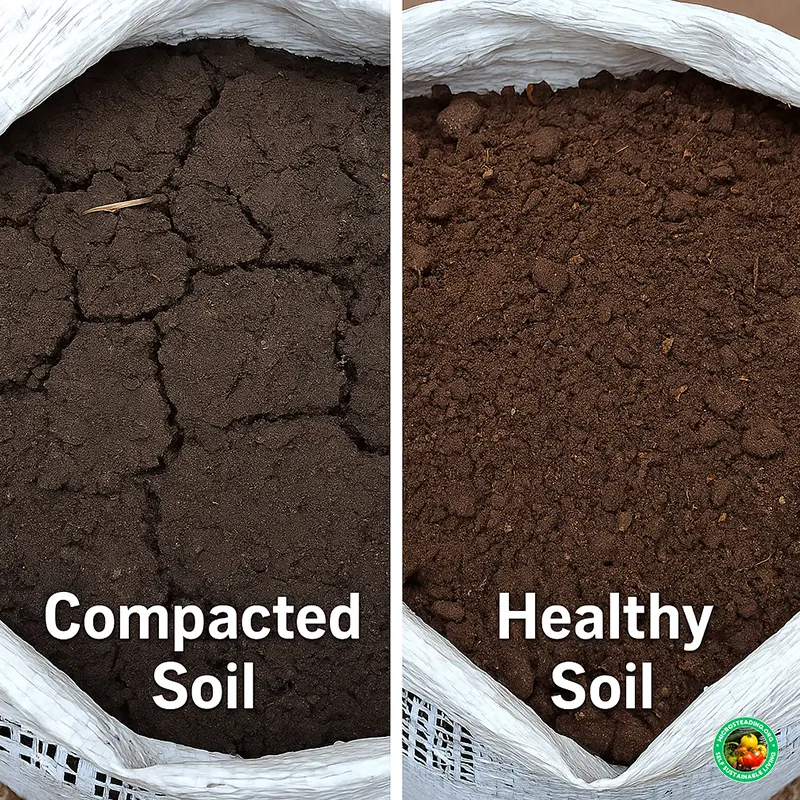
When soil gets too dense, it pushes out the tiny air pockets that roots need to breathe and grow. That leads to poor drainage, stunted growth, and root stress. In grow bags, this happens faster than in raised beds or in-ground gardens because the soil doesn’t have natural worms, insects, or weather patterns to fluff it up.
Some clear signs of soil compaction:
- Water pools on the surface instead of soaking in
- The topsoil feels crusty or hard
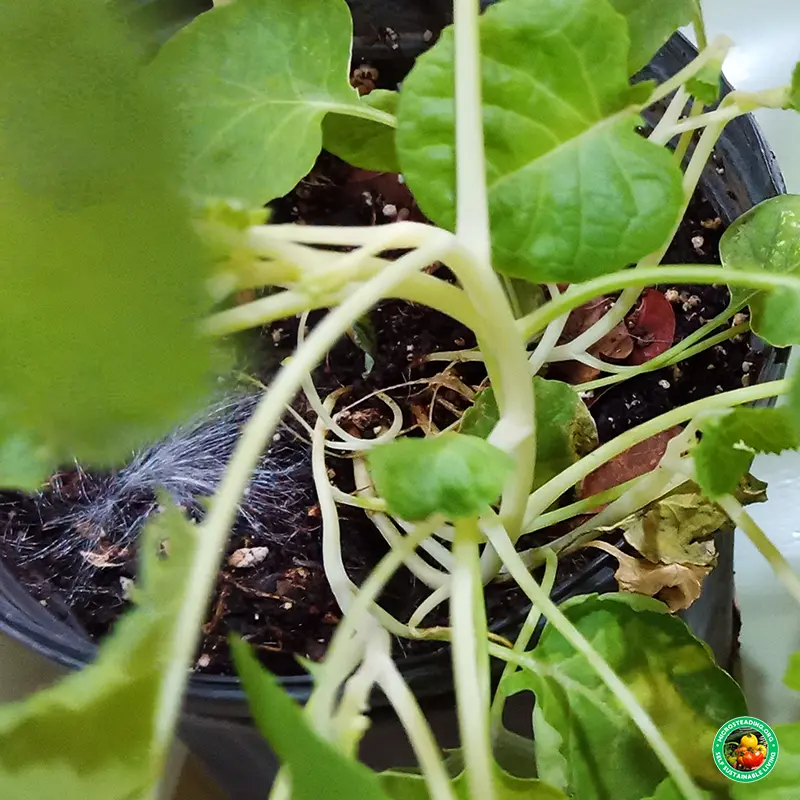
- Roots circle the inside of the bag instead of spreading out
- Growth stalls, even if light and nutrients are good
This is one reason why I always test soil with my fingers before planting — if it resists pressure or feels too dense, I know I need to intervene.
Related:Best Soil Mixes for Grow Bags
What Causes Compaction in Containers?
Compaction doesn’t happen all at once. It builds up over time, and usually for a few reasons:
- Using heavy or poor-quality soil that lacks structure
- Not enough organic matter or ingredients like coco coir or perlite
- Overwatering without letting the top dry out between sessions
- Reusing the same mix season after season without amending
- Roots from large crops bind the soil into a tight mass
If your mix came out of a plastic bag as a sticky, clay-like blob, chances are it's part of the problem.
Also see:
Composting Directly in Grow Bags
DIY Grow Bag Hacks from Recycled Materials
Smart Soil Design to Prevent Compaction
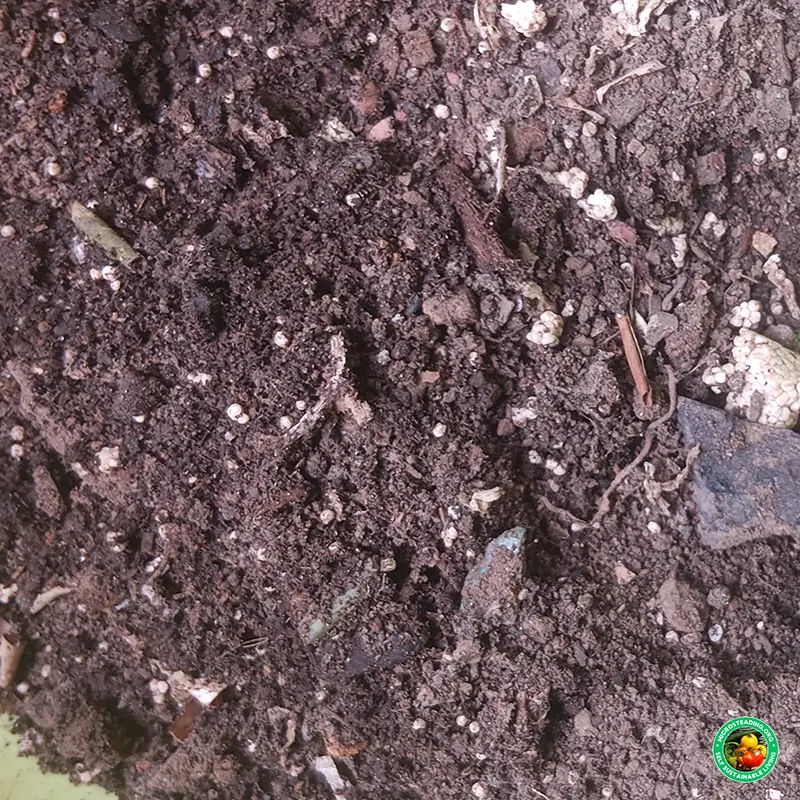
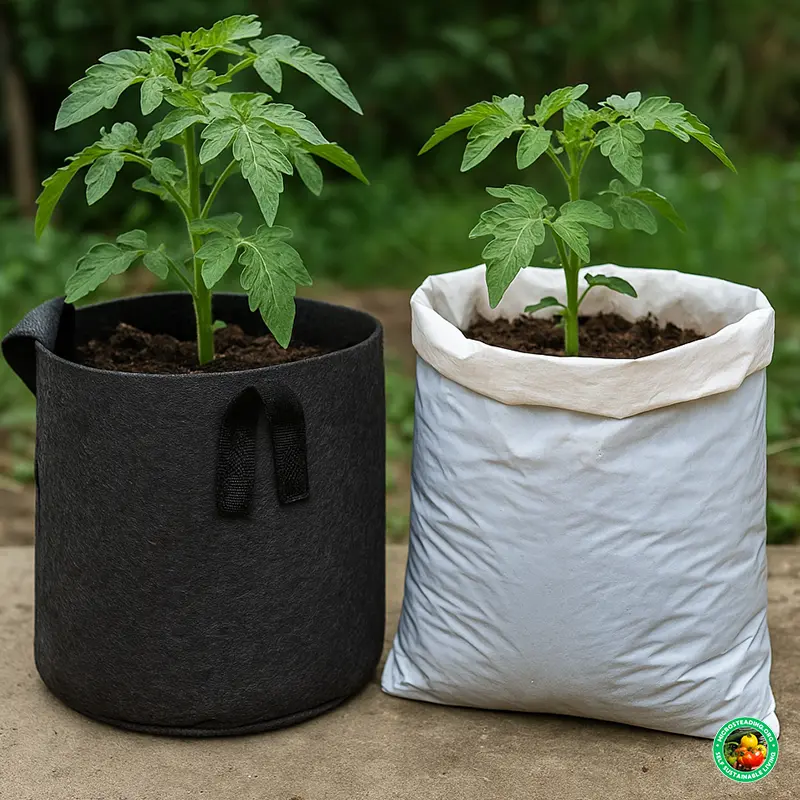
Prevention starts with the mix itself. I use a loose, airy, moisture-balanced blend that doesn’t break down too quickly. Here’s one formula that has worked great for me:
- 40% high-quality compost
- 30% coco coir
- 20% perlite
- 10% worm castings
You can tweak it depending on what you're growing, but the goal is always to keep the soil light, rich, and breathable. Avoid anything that feels sticky, soggy, or heavy right out of the bag.
Need a custom mix for your crops? Use the Soil Mix Calculator to generate a formula that fits your grow bag size and plant type.
Ongoing Maintenance Tips
Even good soil will compress a little over time, especially after weeks of watering, root growth, and sun exposure. Here’s how I keep mine in top shape:
- Loosen the top two inches of soil every couple of weeks using your fingers or a hand fork
- Avoid stepping on, stacking, or putting weight on containers
- Mulch the surface lightly with compost or dried leaves to protect the structure
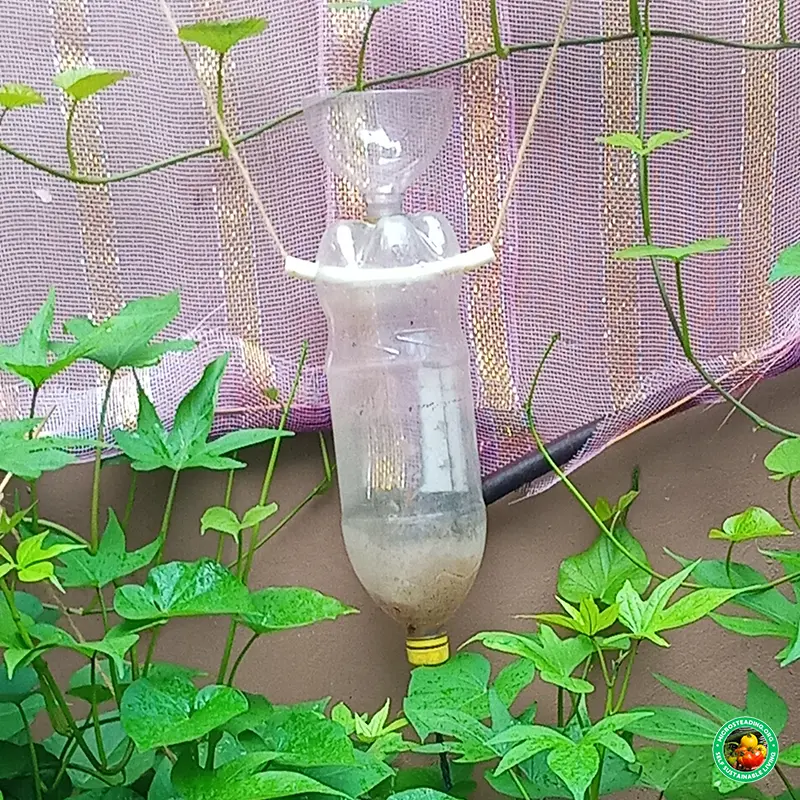
- Use watering cans or spouts instead of hard hose sprays that compact the top
Even a few minutes of fluffing and refeeding can make a huge difference in plant performance later in the season.
How to Fix a Compacted Grow Bag
If the damage is already done, don’t worry — you can bring it back to life:
- Remove the plant gently if needed
- Break up the soil by hand or with a small trowel
- Mix in new compost, coir, or perlite
- Replant with a lighter touch and top-dress the soil
If the grow bag is completely rootbound, it might be time to rotate crops or give the soil a break.
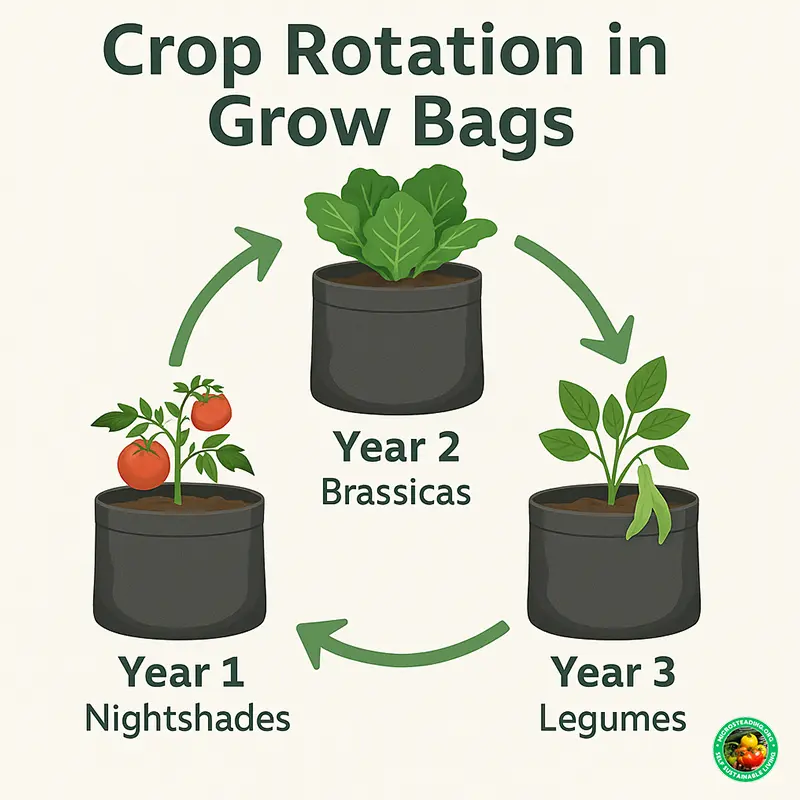
Rotate, Refresh, and Rest the Bag
Compaction often happens when we push too many seasons through the same soil without rest. A few smart practices can prevent that:
- Rotate crop types between heavy feeders and lighter ones
- Let the bag “rest” for a few weeks after a big harvest
- Remove about 25–50% of the old mix at the end of the season and replace it with a fresh, aerated blend
These small resets go a long way toward long-term success.
Related: How to Rotate Crops in Grow Bags
Container soil has a limited lifespan — unless you care for it. You can avoid compaction by starting with the right mix, maintaining airflow, and refreshing between seasons. Your plants will thank you with stronger roots, better harvests, and fewer mid-season issues.
About the Author:
Carl Riedel is the founder of Microsteading.org and a passionate small-space grower based in Curaçao. He specializes in grow bag gardening, sustainable methods, and teaching others how to thrive in limited spaces.