How to Set Up a Self-Watering Grow Bag System
Watering is one of the trickiest parts of grow bag gardening. Too much and the roots rot. Too little and your plants wilt by noon. But with the right setup, you can avoid both extremes — and that’s where self-watering systems shine.
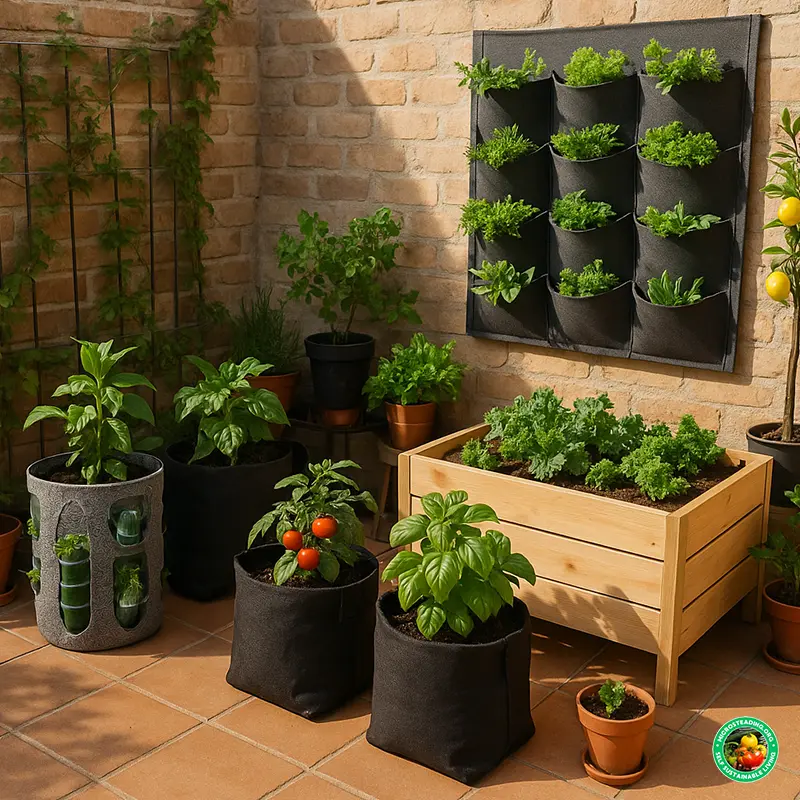
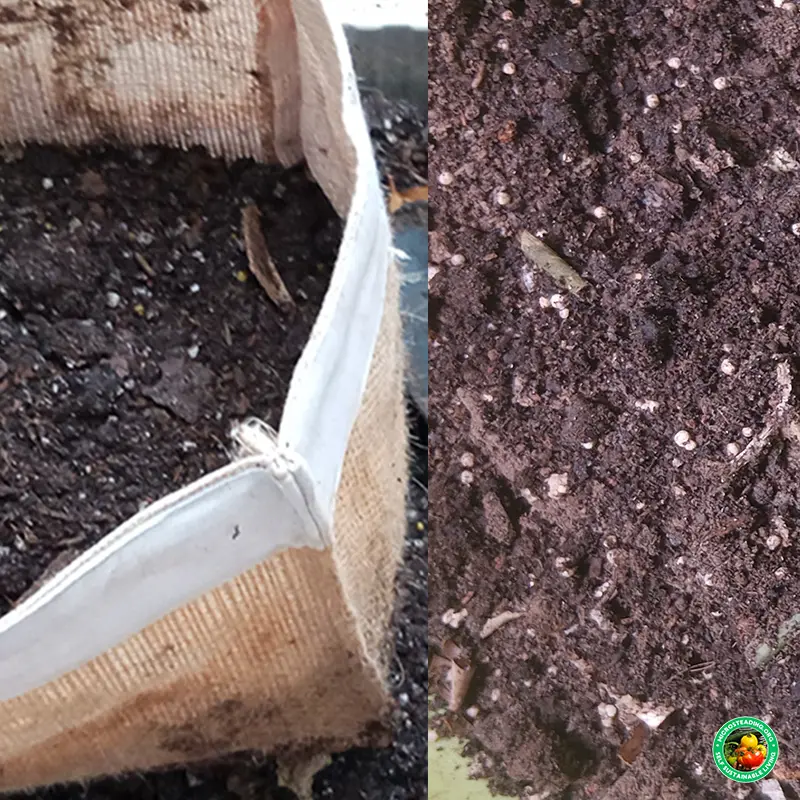
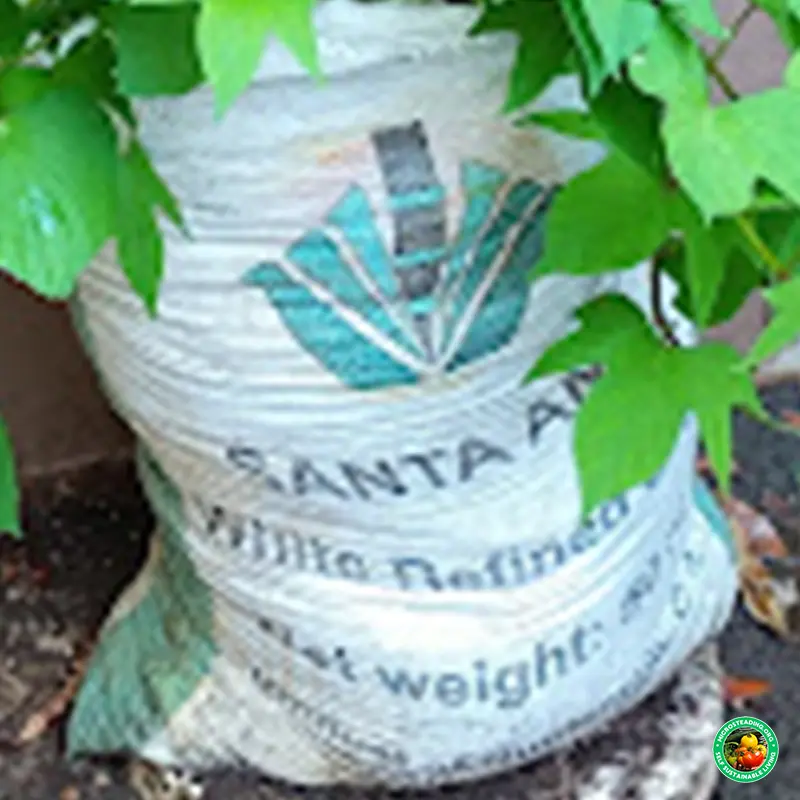
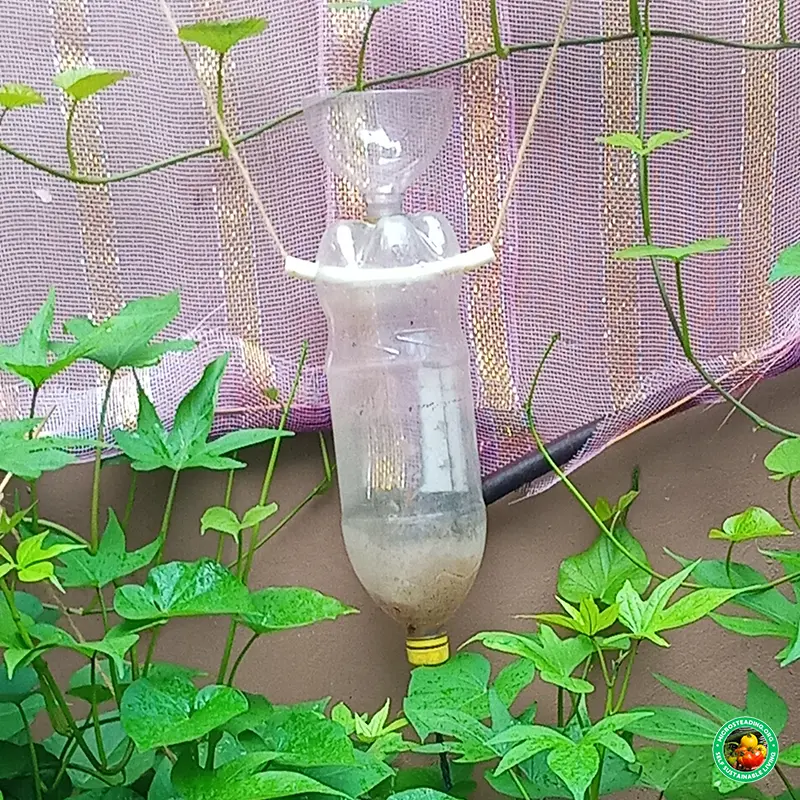
I’ve tested several methods here in Curaçao, where heat and wind can dry out a grow bag quickly. What worked best for me was a simple, low-cost solution using recycled materials. It moistens the soil and reduces how often I need to check on my bags, especially helpful when growing heavy drinkers like sweet potatoes or tomatoes.
Here’s how to build a reliable self-watering system that fits your space, budget, and microstead.
💧 Why Use a Self-Watering System?
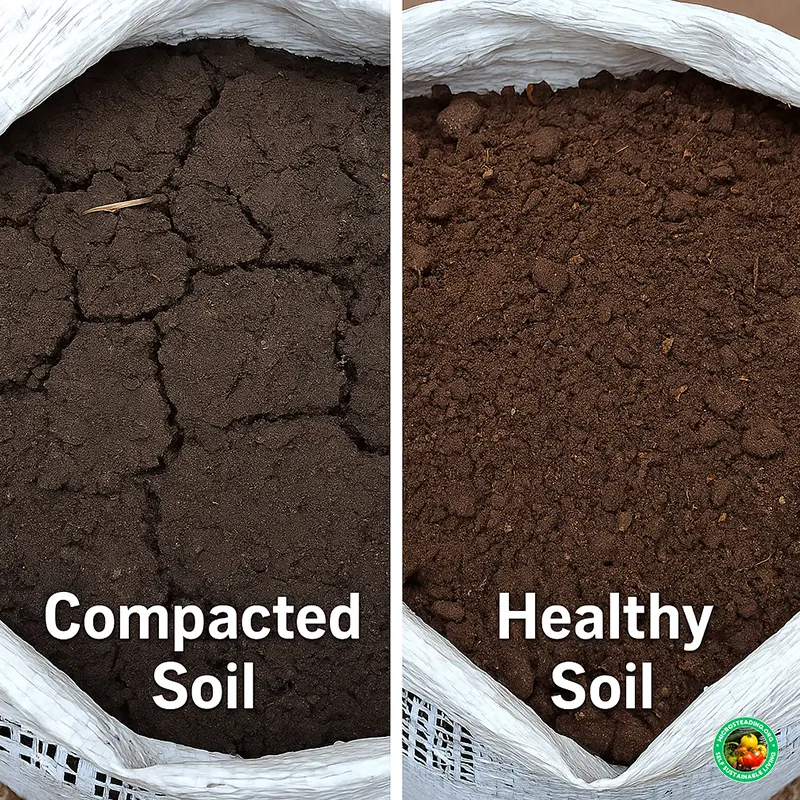
Grow bags drain fast, which is usually good — unless you forget to water or the sun is relentless.
Self-watering setups help by:
- Delivering water slowly and steadily to the root zone
- Reducing runoff and evaporation
- Allowing deeper root growth
- Giving you more flexibility during hot weeks or travel
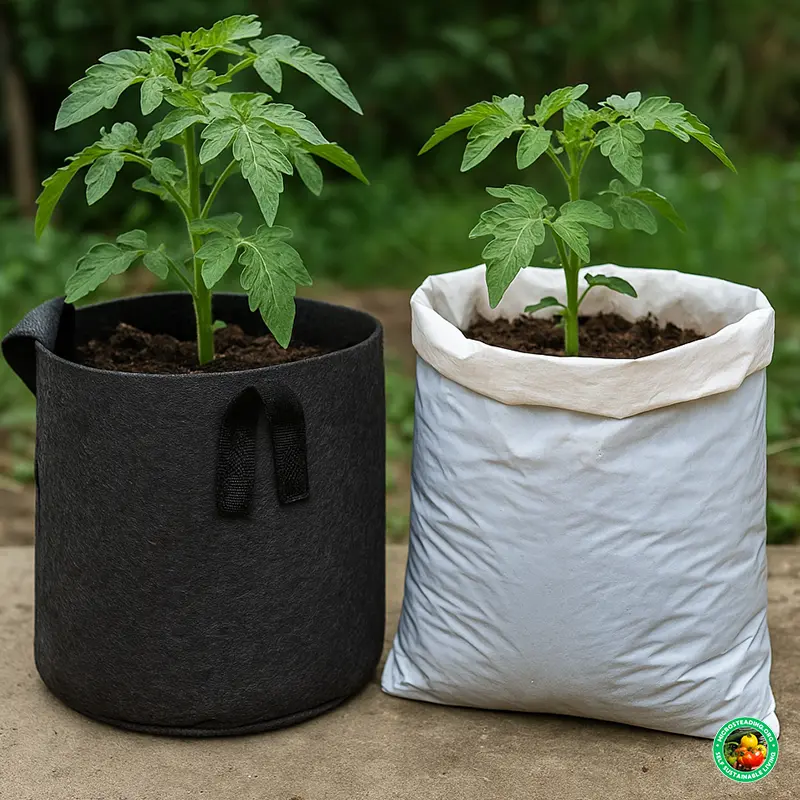
They also reduce common problems like leaf curl, wilting, and blossom drop — all signs of inconsistent moisture. This setup can be a game-changer if you’re growing in fabric bags.
🧃 What You’ll Need (My DIY Setup)
For the system shown in my garden, I used:
- 1 empty plastic bottle (1.5–2L works great)
- A sharp knife or scissors
- A needle or a pin
- String or wire for hanging
- Optional: a small piece of cloth or sponge as a slow-drip wick
🛠️ How I Built It
- Clean and dry the bottle thoroughly
- Poke a tiny hole near the bottom of the bottle using a heated needle (or make a pinhole in the cap)
- Hang the bottle upside down above the grow bag using a string or a plant hook
- Position the drip over the root zone, not too close to the stem
- Fill with water, and test the drip rate (adjust hole size if needed)
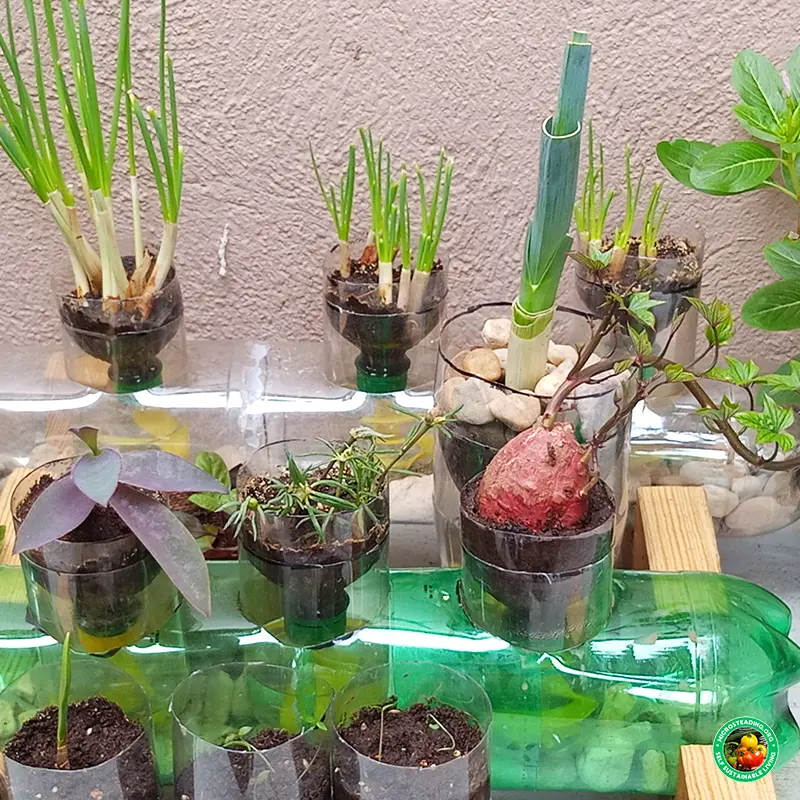
📸 Here’s how mine looks in action:
🔄 Bottle vs Wick Systems
You can also create bottom-up wicking systems, especially if you're building your planters. But an overhead bottle works great for flexibility and fast setup, especially in grow bags already in place.
Wicking setups involve:
- A reservoir (tray or tub under the bag)
- A wicking material (cotton cloth, rope) reaching into the soil
- Capillary action pulls water upward as needed
You can explore more types in our upcoming post on wicking system comparisons.
🧠 Tips for Tuning Your System
- Use shade cloth or mulch to reduce surface evaporation
- Position the bottle slightly off-center to avoid root rot at the stem
- Test the drip rate — 1 drop every 10–30 seconds is a good target
- Refill bottles daily or every 2–3 days, depending on the weather
If you want to upgrade later, you can connect multiple bottles or install a gravity-fed reservoir from a raised bucket — same principle, just more capacity.
🔗 Related Reads
-
Need water retention tips? Check out How to Water Grow Bags Efficiently
-
Want to build the ideal soil mix for self-watering? Visit Best Soil Mixes for Grow Bags
-
Wondering which crops love this method? Top 5 Crops for Grow Bags has you covered
Self-watering systems don’t have to be expensive or complicated. With a recycled bottle and a little trial and error, you can automate your watering, boost your yields, and spend less time stressing over dry soil.
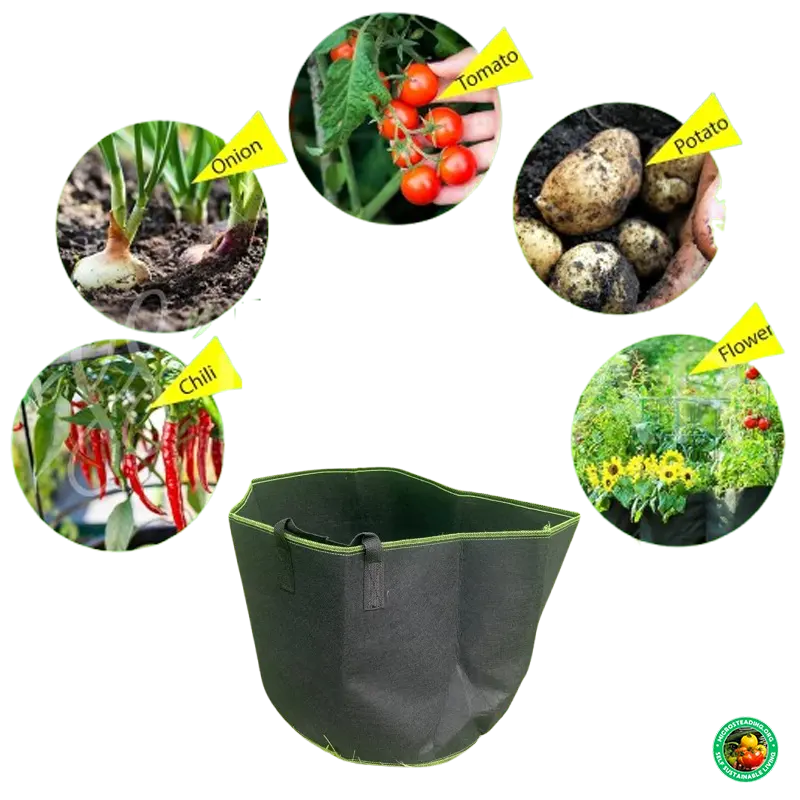
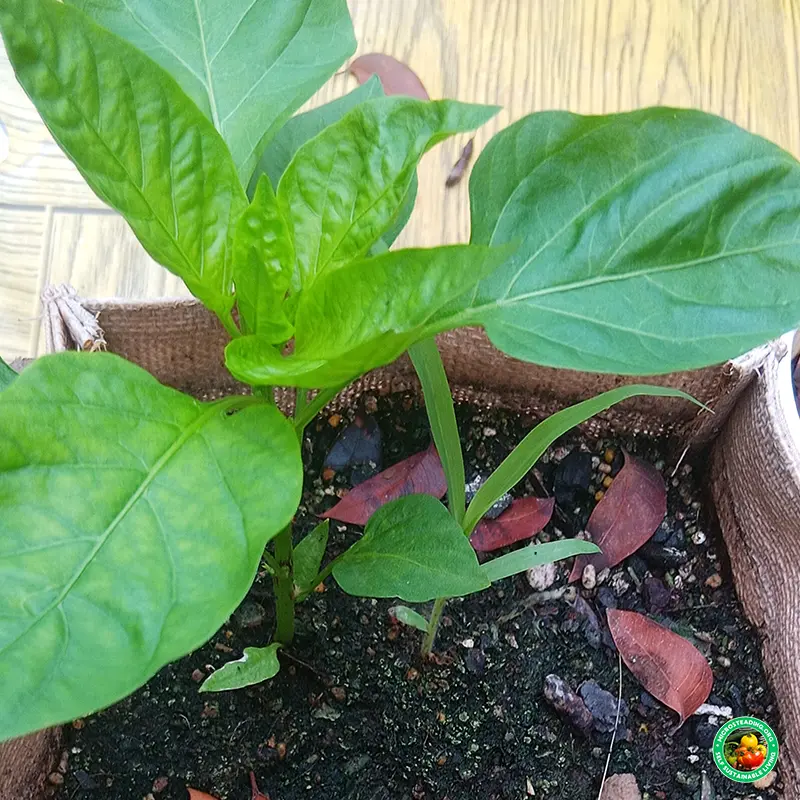
It’s one of the best grow bag upgrades I’ve made. Whether you’re growing leafy greens, peppers, or a full sweet potato crop like I did, steady moisture makes all the difference.

About the Author:
Carl Riedel is the founder of Microsteading.org and a passionate small-space grower based in Curaçao. He specializes in grow bag gardening, sustainable methods, and teaching others how to thrive in limited spaces.